
How to Make Waxed Paper Craft Recipes Aunt Annie's Crafts
wax paper that Amazon reviewers swear by!. Array. Hometalk may receive a small affiliate commission from purchases made via Amazon links in this article but at no cost to you. 1. Rescue Your Iron

Ironing Fabric Of Pieced Paper Foundation Stock Photo Image of color
Cover the wax paper and flowers with the second cloth to protect your iron from melted wax. You will need a medium-high heat setting on your iron. Do not use steam. Apply the iron to your covered wax paper sandwich. You are aiming to melt the wax and press the flowers by applying repeated gentle pressure.

Upcy Preserving Leaves with Wax Paper DIY
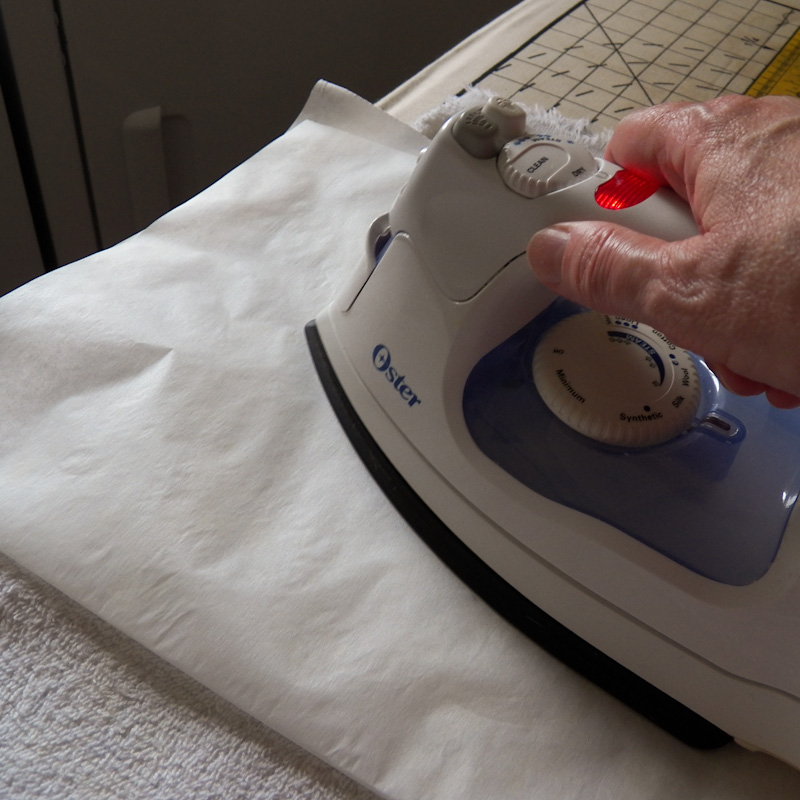
Place a piece of scrap fabric or a clean cloth over the wax paper and fabric to protect both the iron and your design. Firmly press the iron onto the cloth, moving it in a circular motion for approximately 30-45 seconds, applying even heat and pressure. Test and Remove: Once you've finished applying heat and pressure, allow the fabric to cool.

J.Lynne Press or Iron? Ironing board or pressing pad? How do you care
1. Place the leaves in between two sheets of wax paper, with the waxed side facing inside. If you place the waxed side on the outside, the result will be a waxy, sticky, mess on anything it touches. The waxed side will have a slick slightly sticky feel like a crayon drawing. The non-wax side is smooth and even.
Cheap Dry Wax Paper Sheets, find Dry Wax Paper Sheets deals on line at
Here are the supplies that you will need to make Fall Leaves in Wax Paper: - A towel. - An iron. - Wax paper. - Leaves. And the rest is simple: just arrange your favorite leaves on a piece of wax paper. Lay another piece of wax paper on top, and cover with a towel on both sides (so that there is no wax paper showing).
How to Make Waxed Paper Craft Recipes Aunt Annie's Crafts
Peel the wrapper off of the crayons. Place the wax paper on top of an old dishtowel and then cover the top with another dishtowel. With your iron on low gently press and iron the wax paper until the crayon shavings begin to melt. Set aside and let it cool, once it is cool draw your favorite shape with a magic marker.
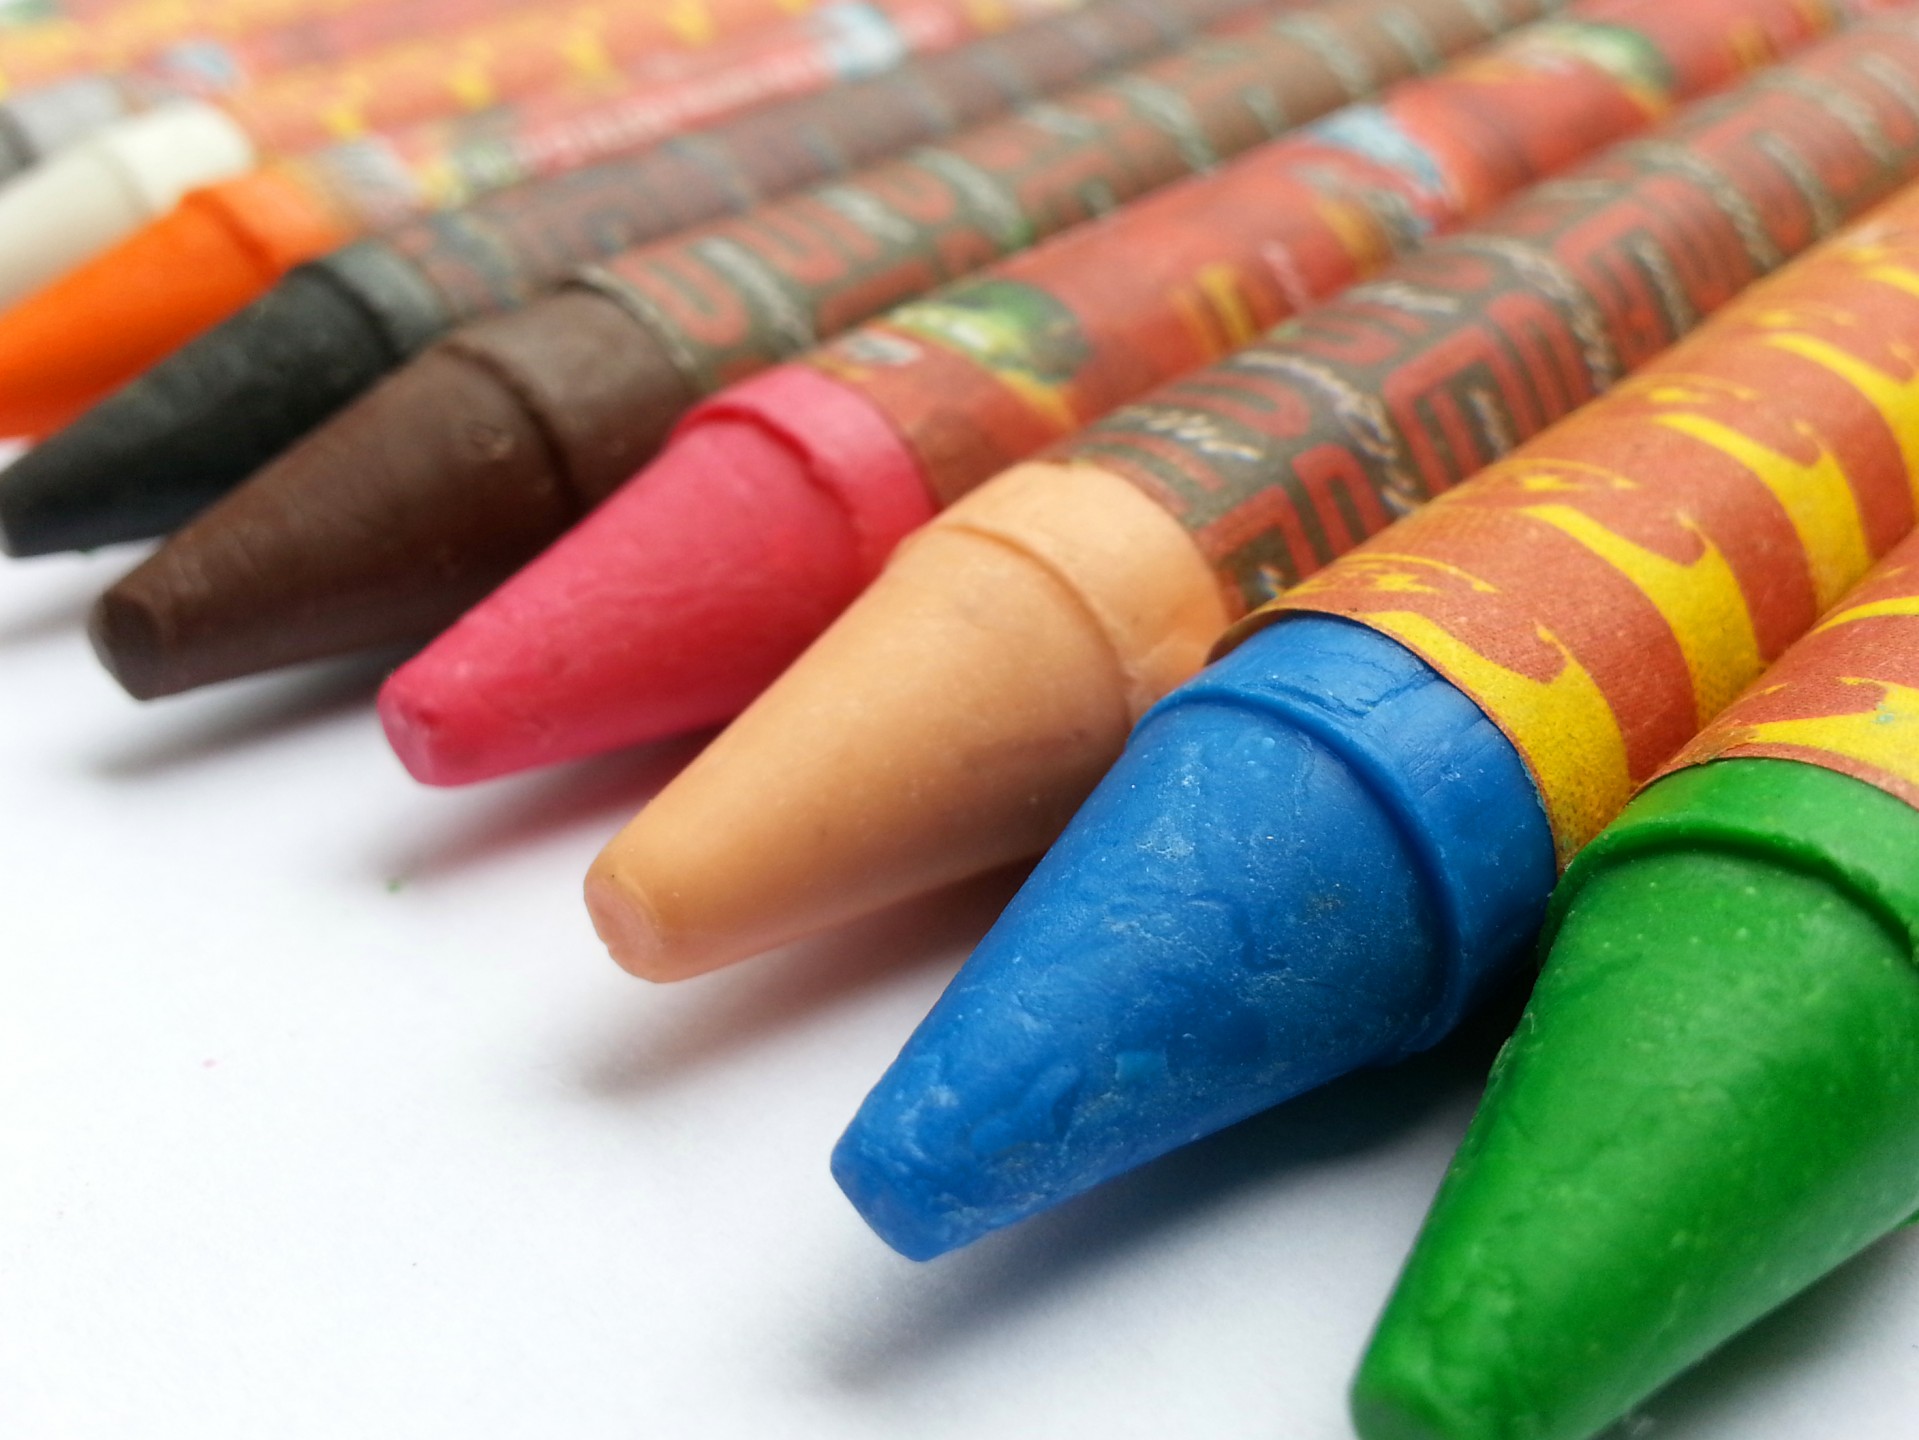
Wax Crayons Free Stock Photo Public Domain Pictures
Lay it down and place a sheet of parchment paper over it. Next take your hot iron and lightly press it onto the parchment paper covered perler beads. Don't hold it too long. Pick it up, reposition, and lightly press again. Now, you don't want to iron for too long or the beads will melt more than you'd like them to.

Red Wax Paper Single Color Ream, 24" x 36"
The thick paper protects the iron from damaging the wax paper. It also prevents wax from getting on the iron and creating smoke. The longer the heat is on the wax paper, the more of the wax soaks up into the thick paper on top. This makes the wax paper less able to seal. Thus, a quick go-over of the iron is key.

a card with an image of a star on it
Try ironing the wax paper to a regular sheet. Just do the corners where you are not printing and put a towel between the iron and the wax paper. This will give the wax paper the heft of the printer paper. Another idea - if you look into the printer from the output slot - can you see rollers? Is there a way to prop the rollers up with cut up.

5 Color Wax Paper Delight Assortment Bundle
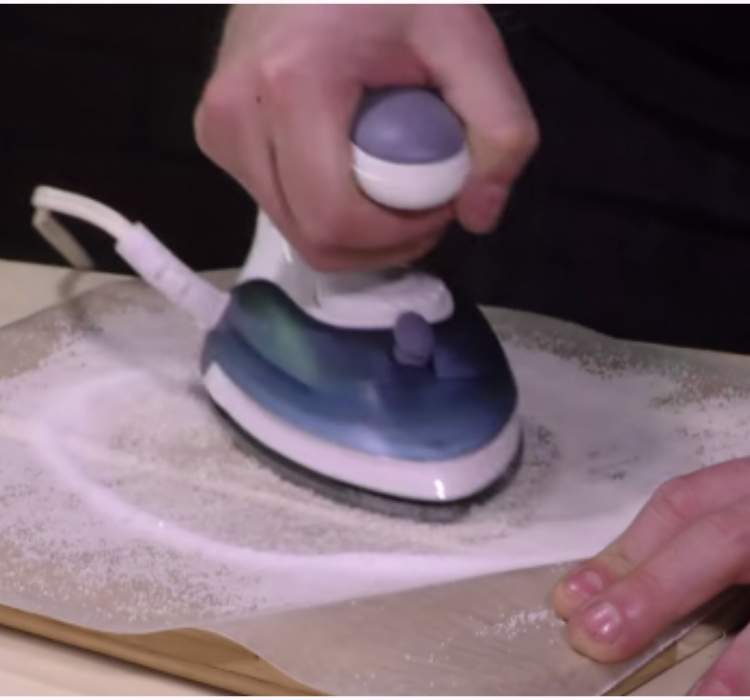
Place a sheet of wax paper on the ironing board, and sprinkle about 1 tablespoon of salt over the paper. Iron over the salt lightly at the highest iron temperature setting, and the dirt will stick to the salt, leaving the surface of your iron spotless. 10. Keep Hard-to-Reach Places Spotless.

Dry out some leaves or your favorite flowers in between some wax paper
Step 6. Cover the wax paper with the second cut piece of brown packaging paper. Set the iron to cotton. Place the hot iron over the top left hand corner section of the brown paper. Hold the iron in place for 15 seconds. Move the iron to the right one iron width. Hold the iron in place for 15 seconds. Repeat the process until the entire sheet is.
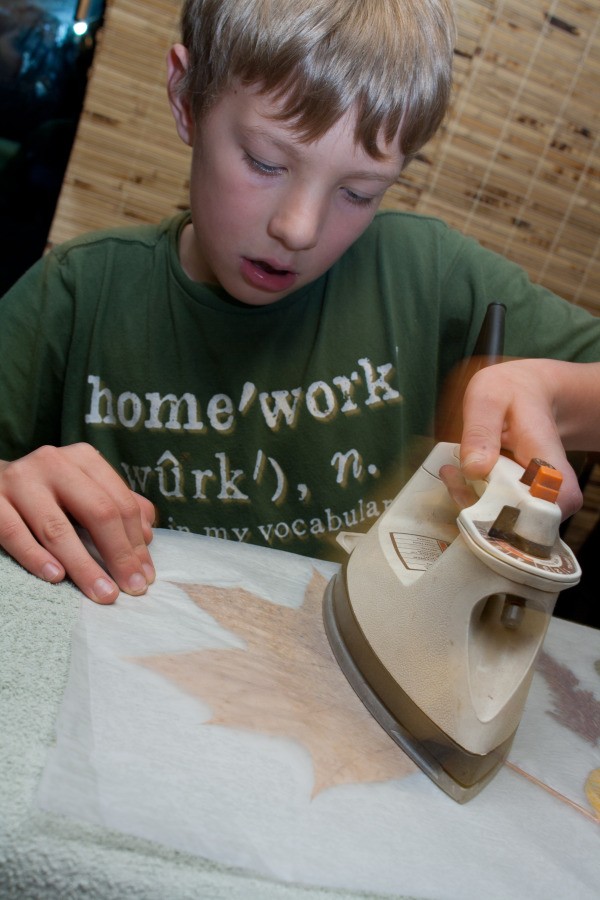
Making Autumn Leaf Lanterns ThriftyFun
You can add pretty images to your candles with this creative and easy wax paper tip! 7. Cabinet Liner. Stop wasting your money buying that expensive shelf liner at the store. Instead, try putting some wax paper on top of your kitchen cabinets and drawer to keep the grease and dust off the wood.

B+C Guides Recipe Pressed flowers, Pressed flower crafts, Dried and
with an iron set on a warm setting, place a towel first down onto your ironing board. then your wax paper and crayon sandwich. then place a paper towel in between your iron and the wax paper sandwich. slowly melt your crayon shavings. and push the "liquid crayon" around so it's thin and covers a larger area. (be careful of spilling the.
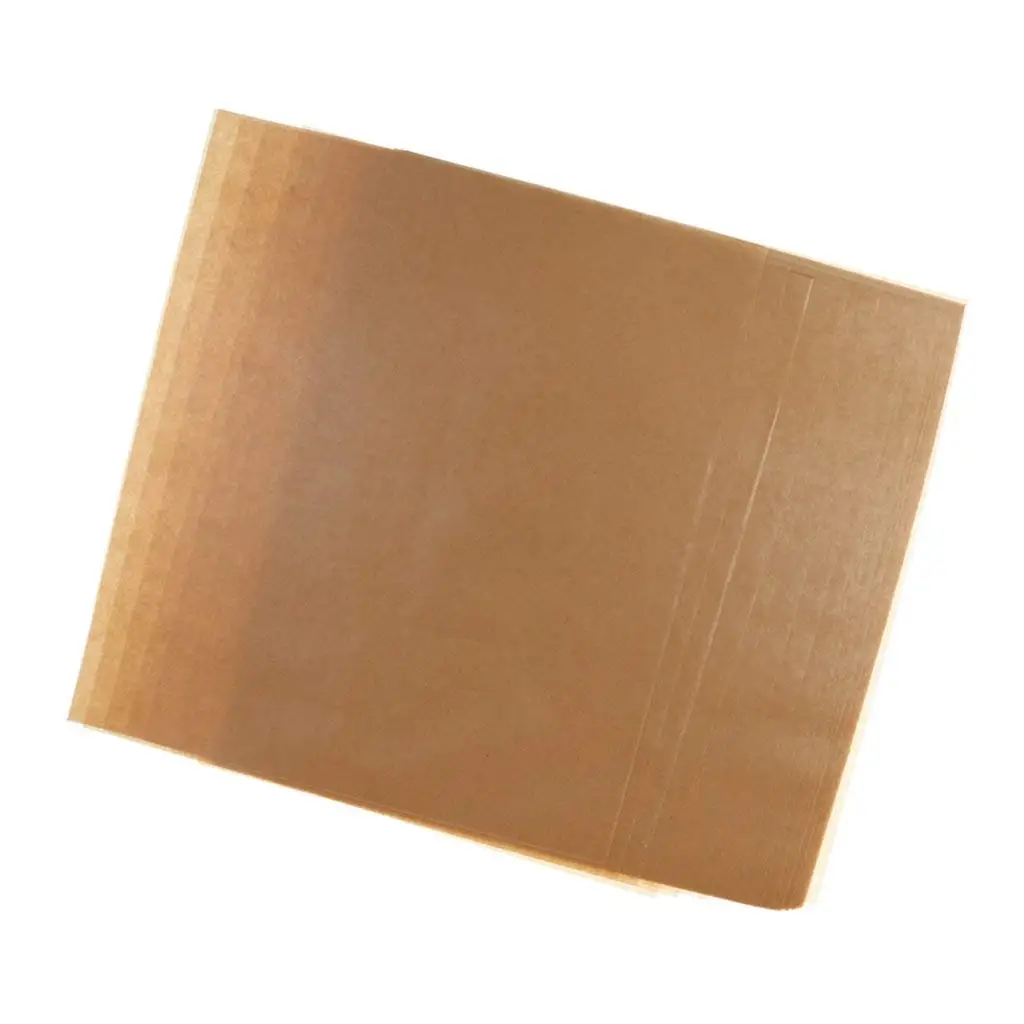
Kraft Paper Wax Paper Rolls Advanced Packaging Solutions
After pre-washing, press the fabric so that it's soft and wrinkle-free. Once the fabric is ready, place the printed wax paper face up on an ironing board. Put the fabric on top of the wax paper, and press the hot iron onto it, applying enough pressure for the transfer to take place. After a few minutes, the transfer should be complete.
16 Genius Wax Paper Tips and Tricks
Place them between wax paper sheets and use an iron to flatten and dry them. Iron one side of the waxed paper sandwich and then flip over and iron the other side. Not only does this dry the leaves, but it also creates a light layer of wax on them, for even better preservation. After pressing, or as an alternative to pressing autumn leaves.

How to Easily Preserve Fall Leaves Leaf crafts, Wax paper crafts
Cover with a second piece of wax paper. Place the pile on an iron-safe surface. Cover the wax/leave pile with a towel to act as a barrier between the wax and the hot iron. Iron .
